Showing posts with label F4 Polish. Show all posts

Friday, October 05, 2012

F4 Polish: Gravel Dust

I've got one more great F4 Polish to show you today, Gravel Dust!  You can see my review of the F4 Polish Halloween Collection here.  


Gravel Dust is a medium grey crelly (creme-jelly) filled with tiny pink, purple, and green matte glitters.  The application was easy, and the glitters spread evenly by themselves.  


I've shown three coats here, but if you don't have a very visible nail line or don't have much free edge, you could easily get away with two coats.  I only had time for one coat of Seche Vite (morning mani,) but it was still pretty gritty so I'd recommend two coats of a thicker top coat for a completely smooth finish.  


I've made no secret of my love of grey polish, and this one hits the spot!  I think that it's really unique, and I love the uniform size of the glitters.  This would be a great polish for someone who wants something fun on their nails, but doesn't want to go too crazy.  ;)


You can find F4 Polish on Facebook here, and on Etsy here.  Jenn, Lacey, and Lexy, the geniuses behind F4 Polish, consistently turn out original and quality polishes, and I can honestly say that they are some of the most sweet and enthusiastic girls when it comes to their brand!  :)

Do you own any F4 Polish?  Do you like grey polish with glitter?  Let me know what you think! 

Tuesday, October 02, 2012

F4 Polish: Halloween Collection

Today I've got three polishes from the F4 Polish Halloween collection to show you.  Once again I'm blown away by the thought and care that goes into making these polishes, and it shows through in the fabulous quality and application! 

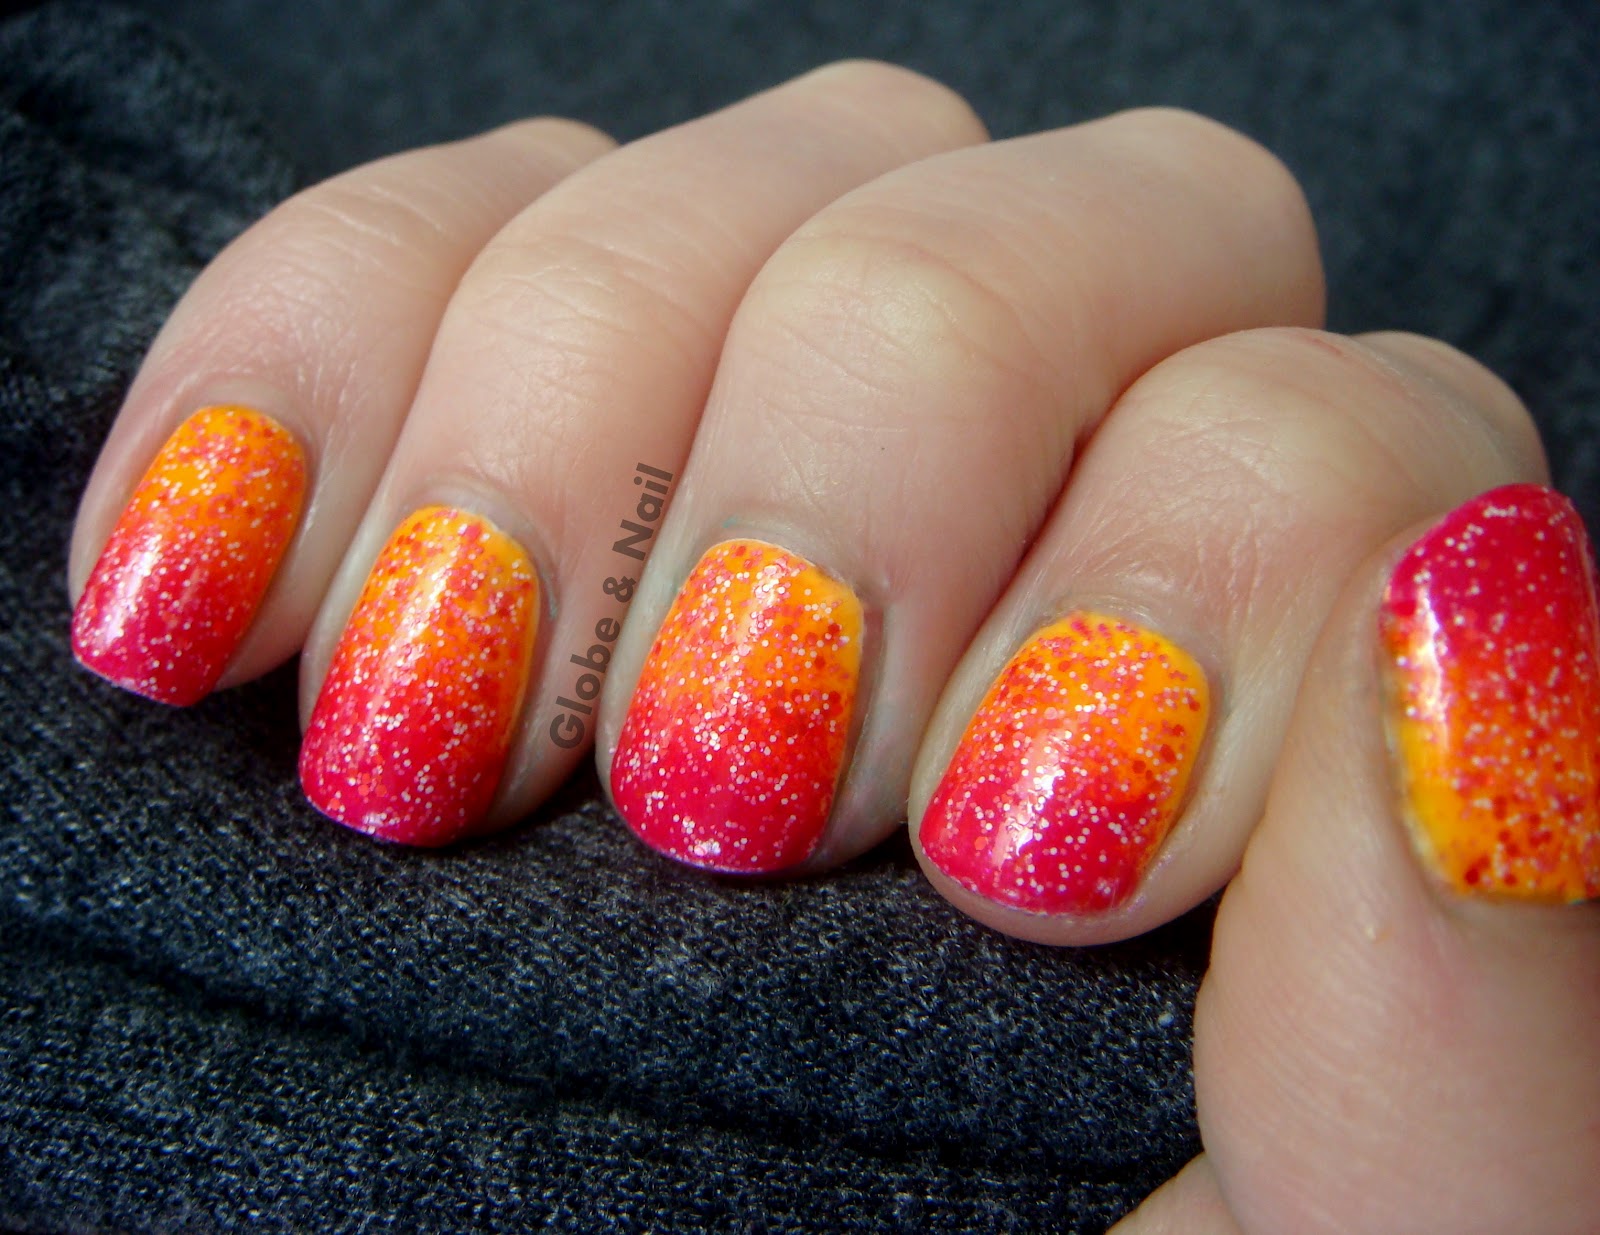
First up is Krazy Korn, a clear base with orange, white, and yellow matte glitters of various sizes.  To make it further resemble it's namesake, I decided to layer it over a gradient of Sally Hansen Xtreme Wear White On, Mellow Yellow, and Essie Orange, It's Obvious!    


The glitter is really densely packed in all of the F4 Polishes, and this one is no exception; shown is only one coat! 


Application was really smooth, and there was only a little dabbing required just to get the larger yellow hexes where I wanted them.  I've used one coat of SV for the pictures, but I'd recommend two if you want a smooth finish.  


Green Goblin  is a clear base packed full of various shades and sizes of sparkly and matte green glitter.  I layered one coat of this over Orly After Party, but I have no doubt that you'd be able to get full coverage with this one by itself in two or three coats!


Application was perfectly smooth, I applied it as I would any normal non-glitter polish and it spread perfectly.  Gotta love a great glitter formula!  Two coats of SV are shown and were enough for a smooth finish. 


My favourite part about this one is the mix of glitters in it.  The contrast between the matte and sparkly glitters give it a really interesting visual effect, and the different shades of green give it a lot of depth.  


I've saved my favourite for last, Monster Mash!  This polish is a mix of black matte micro glitters, small green matte hexes, and medium purple matte hexes.  I layered one coat of Monster Mash over Orly Decoded, which I think is a perfect base!  Two coats of SV was enough for a smooth finish. 


The application on this one was a tad more finicky than the other two, but nothing to really complain about since the others were both on a level WAY above average for glitter application!  A little extra time was required to space the green and purple glitters evenly, but the end effect is SO worth it! 


How great is this?  I love that it's subtle (at arm's length) but still really fun, quirky, AND Halloween-appropriate!  This one's a total win  :)


You can snatch yourself up some F4 Polishes on Etsy here, (they ship to Canada!) and keep up to date with news and upcoming polishes on Facebook here


Which of these three polishes is your favourite?  Do you have any of these or the other polishes from the F4 Polish Halloween collection?  Will you be getting any in time for this Halloween?  :)


You can see my previous reviews of F4 Polish here: Pink PenquinChunky CowPink SalmonMint Chocolate Chip.   I have one more F4 Polish to show you, but it's not part of the Halloween collection and therefore will be getting it's own post in the very near future  ;)


Disclaimer: The products in this post were sent to me for review and my honest opinion. 


Wednesday, June 13, 2012

Mickey Mouse Nail Art

Good morning!  Today I'm showing you some nail art that I did last night after my swatches of F4 Polish Chunky Cow.  I found a nail art contest on Instagram and the theme was Disney, so I quickly did this.  The contest is hosted by @stephanie1011, hashtag is #stephdisneycontest, and I believe it ends on Saturday, if any of you are interested.  

I left Chunky Cow on three of my nails, and re-painted my ring finger with Sally Hansen Xtreme Wear White On.  I used my dotting tools (read: pins stuck into the eraser end of a pencil) and Sally Hansen Xtreme Wear Cherry Red and Black Out to make the Mickey Mouse design on my ring finger.  


On my thumb I have two coats of China Glaze Love Marilyn (any fellow Smash fans out there?) over one coat of Sally Hansen Xtreme Wear Cherry Red.  I freehanded the Disney "D" with black acrylic paint and a super tiny paintbrush.  Two coats of Seche Vite. 


I'm sure I've seen the design on my ring finger done before, but I can't remember where it was.  If any of you recognize it, please let me know and I'll link back to whoever originally did it.
Make it a great day! :)

Tuesday, June 12, 2012

F4 Polish: Chunky Cow

 Today I've got the last of my F4 Polishes: Chunky Cow.  This was the my first pick when I was looking at their Etsy shop, and I don't know how I waited to try this one last!

Chunky Cow is a mix of black matte micro-glitter and medium white matte hex glitter in a clear base.  I'm most definitely on the black and white glitter bandwagon right now, no doubt.  Application was a bit tricky; the white glitters didn't want to go where I wanted them.  I ended up having to pick up and re-place quite a few of them, but I think the end result is worth it.  Shown here is one coat of Chunky Cow over one coat of Sally Hansen Xtreme Wear Cherry Red (hooray for one-coaters!)  Topped with two coats of Seche Vite.  Who doesn't love a black and white glitter?


You can but F4 Polish on their Etsy shop, where they sell for $8USD per full-sized bottle, and check out their Facebook page for updates!

I've got a couple other posts saved up, mainly some nail art which includes Chunky Cow.  As I mentioned in my previous post, I picked up a few bottles of polish while in Seattle on Sunday, and I've now had a chance to try them all except my Lippmann!  It's probably pretty hilarious to others how excited I am about the fact that I own a bottle of Deborah Lippmann... hmm.  I'm also expecting some nail mail pretty soon, so lots of exciting stuff coming up!  Good night!

Monday, June 11, 2012

F4 Polish: Pink Salmon

I have yet another F4 Polish to show you today: Pink Salmon!

Firstly, no these nails are not my own; they belong to my sister.  You see, yesterday my mom and I decided on a whim to drive to Seattle to see Pacific Northwest Ballet's Season Encore (which was phenomenal) and the occasion called for a dress that just so happened to perfectly match my Mint Chocolate Chip nails, so of course I had to leave it on.  Therefore, my sister agreed to let me use her nails to show you this beautiful polish.  I couldn't decide whether to put it over pink or orange, so I did a gradient to use both, and love the result! 

Pink Salmon is a mix of white and pink matte micro-glitter with very small pink hex glitter.  For this gradient I started with one coat of Sally Hansen Xtreme Wear White On, followed by one thick coat of Essie Action, and then sponged Essie Super Bossa Nova on the tips.  Put on one easy coat of Pink Salmon and one coat of Seche Vite, and you're done!  Formula on this one was absolutely perfect, the glitter behaved very well, spread itself nicely, and wasn't gritty at all. 


The following picture is the result of my sister's statement: "Maybe if I put my hand like this, it'll look like an elevator!" Hmm... no.  But she'll be upset with me if I don't post it, so here it is.
(Aine: You know I love you.)
.


I forgot to take a picture with her holding the bottle (she ran off to her friend's house right after) so I took one with my still-green nails.  After this I only have one more F4 Polish to show you, but on my trip to Seattle yesterday I picked up 5 new bottles, including my first Deborah Lippmann! Needless to say, I was very outwardly excited... I just might have been on the receiving end of numerous sidelong glances.

Just a quick note: as I'm coming up on the end of the school year I'm very busy with finishing up my courses and studying for provincial exams, so I'm sorry if posting is a bit sporadic over the next 2 weeks.  I'll try to get the last F4 review up in the next couple of days, but beyond that I can't guarantee much until I'm done my exams.
What do you think of the new look? Let me know! Oh, and this was my 20th post; yay! :)


You can buy F4 Polish at their Etsy shop, and like their Facebook page for updates!  Their polishes sell for $8USD per full-sized bottle, and are well-worth it!


Disclaimer: products in this post were sent to me for review and my honest opinion. 

Friday, June 08, 2012

F4 Polish: Mint Chocolate Chip

Here is part two in my series of reviews of F4 Polish, Mint Chocolate Chip!  This is a lovely mint-green creme polish with brown micro-glitter, and it matches the name perfectly. 

For the pictures I used three coats. The first coat was thin and streaky; with the second coat it was evened out, but I could still see a bit of my nail line so I added another.  I think if I had done a thicker first coat I could have gotten away with two thick coats.  When applying, the glitters tended to congregate towards the bottom of my nails, but the polish didn't dry too quickly so I was able to brush over the nail a few times to spread them out.  I used two coats of Seche Vite; one on top of the polish was all I needed to make it glossy, but when I decided to add the rhinestones I had to seal them in with another coat. 

This polish is very pigmented and bright, and my camera couldn't do it justice.  It's much brighter in real life. 


Sarah doesn't own this pose, does she?


Macro bottle shot


I must admit I was a tad bit disappointed when the glitters weren't reflective on the nail; you can see in the bottle picture that some of them catch the light, but that didn't translate onto the nail unless you count one single glitter on my index finger.

So far, I'm very happy with the polishes from F4.  I only got mini bottles, but I think I'll have to buy some full-sized ones once they start "officially" shipping to Canada (which I'm told is being worked on).

You can buy F4 Polish at their Etsy shop ($8 USD per full-sized bottle), and get updates on their Facebook page.


Disclaimer: The products in this post were sent to me for review and my honest opinion. 

Wednesday, June 06, 2012

F4 Polish: Pink Penquin

I can't tell you how excited I was when yesterday I got a text from my dad (who was working at home) telling me that I had a package from F4 Polish!  This is my first review and I was anxiously awaiting the polishes they had sent me to reivew.  Let me tell you, they certainly do not disappoint! 

F4 Polish is still a relatively new indie brand, and I haven't seen much of their polishes around yet.  I really hope their popularity grows, because these polishes are beautiful and the lovely sister who make them most definitely deserve it!  

In the package there were four mini bottles packaged in bubble wrap; the bottles themselves are adorable with the pink sparkly labels and the jewel on the O.  There was the two polishes I had requested, Chunky Cow and Mint Chocolate Chip, as well as two polishes they just added to their shop, Pink Salmon and Pink Penquin.  Yes, Pink Penquin; I keep wanting to type Penguin. 


L to R: Chunky Cow, Mint Chocolate Chip, Pink Salmon, Pink Penquin

It was a very hard choice which one to try first, but I finally decided on Pink Penquin, a mix of black and white matte micro-glitter with medium pink matte hex glitter in a clear base.  Cue close-up bottle picture:


Beauty, isn't it? I chose to layer it over Orly Faint of Heart, which you can see a swatch of here.  I chose a gray because I didn't want any of the white or black micro-glitters to blend in with the base colour. 


One coat of Pink Penquin


Yep, that's only one coat, though the pink is brighter in person.  Next time I think I'll try it by itself because it could probably be opaque in three coats.  The formula was great,and the glitters spread evenly.  It did require a bit of a heavy hand to transfer the glitters onto the nail, but it wasn't gloopy at all.  After I had finished, I did go back and place a few more pink glitters with an orange stick because I'm OCD about bald spots, but I really didn't need to.  


The polish dried very quickly, and I topped it with two coats of Seche Vite to smooth out a little grittiness.  Picture time!


I absolutely love this polish, I can't stop looking at my nails!  They remind of TV static but prettier. :)  

You can buy F4 Polish on their Etsy shop, and you should also go like their Facebook page for updates on their shop.  Their full-sized bottles sell for $8 USD, and are well-worth it if you ask me!   I'll have reviews on the other three polishes spread out over the next few days, and I'm sure I'll love them just as much! 


Disclaimer: These polishes were sent to me for review and my honest opinion. 


LinkWithin

Related Posts Plugin for WordPress, Blogger...