Showing posts with label Gold. Show all posts

Wednesday, January 07, 2015

Quo by Orly Water Transfer Nail Art: Kaleidoscope

Hello!  I've got another set of the Quo by Orly Water Transfer Nail Art to share with you today.  They applied the exact same as the previous set, so I'll omit most of the details in this post but you can read up my original review for everything you need to know about them here!


This time,  I applied the decals over a glitter polish instead of white.  I used three thin coats of Orly Halo for the base, and then applied the water decals.  The rest of my nails are one coat of LaCC 1999 followed by one coat of Butter London Black Knight.  All nails are topped off with a coat of Seche Vite. 


Quo by Orly Water Transfer Nail Art.  Available at Shoppers Drug Mart/Pharmaprix for a limited time only.  Quo by Orly polishes are free of DBP, formaldehyde, and toluene. 

Disclaimer: The products in this post were sent to me by the company's PR representative for review and my honest opinion.  

Friday, January 02, 2015

NYE Mani

Hooray, Nutcracker season is over!!  My December was pretty much consumed by doing those twenty performances, so much so that I sadly only got to do one Christmas mani.  But as fun as the run was, I'm glad to be done with it for another year, and we've got a few weeks now of just rehearsals so I can actually (hopefully) have time to do some nail art again!  

Our last shows were on Decmber 30th, so of course one of the first orders of business on the 31st was doing some awesome nail art for New Year's Eve that was totally not stage-appropriate, woohoo!!


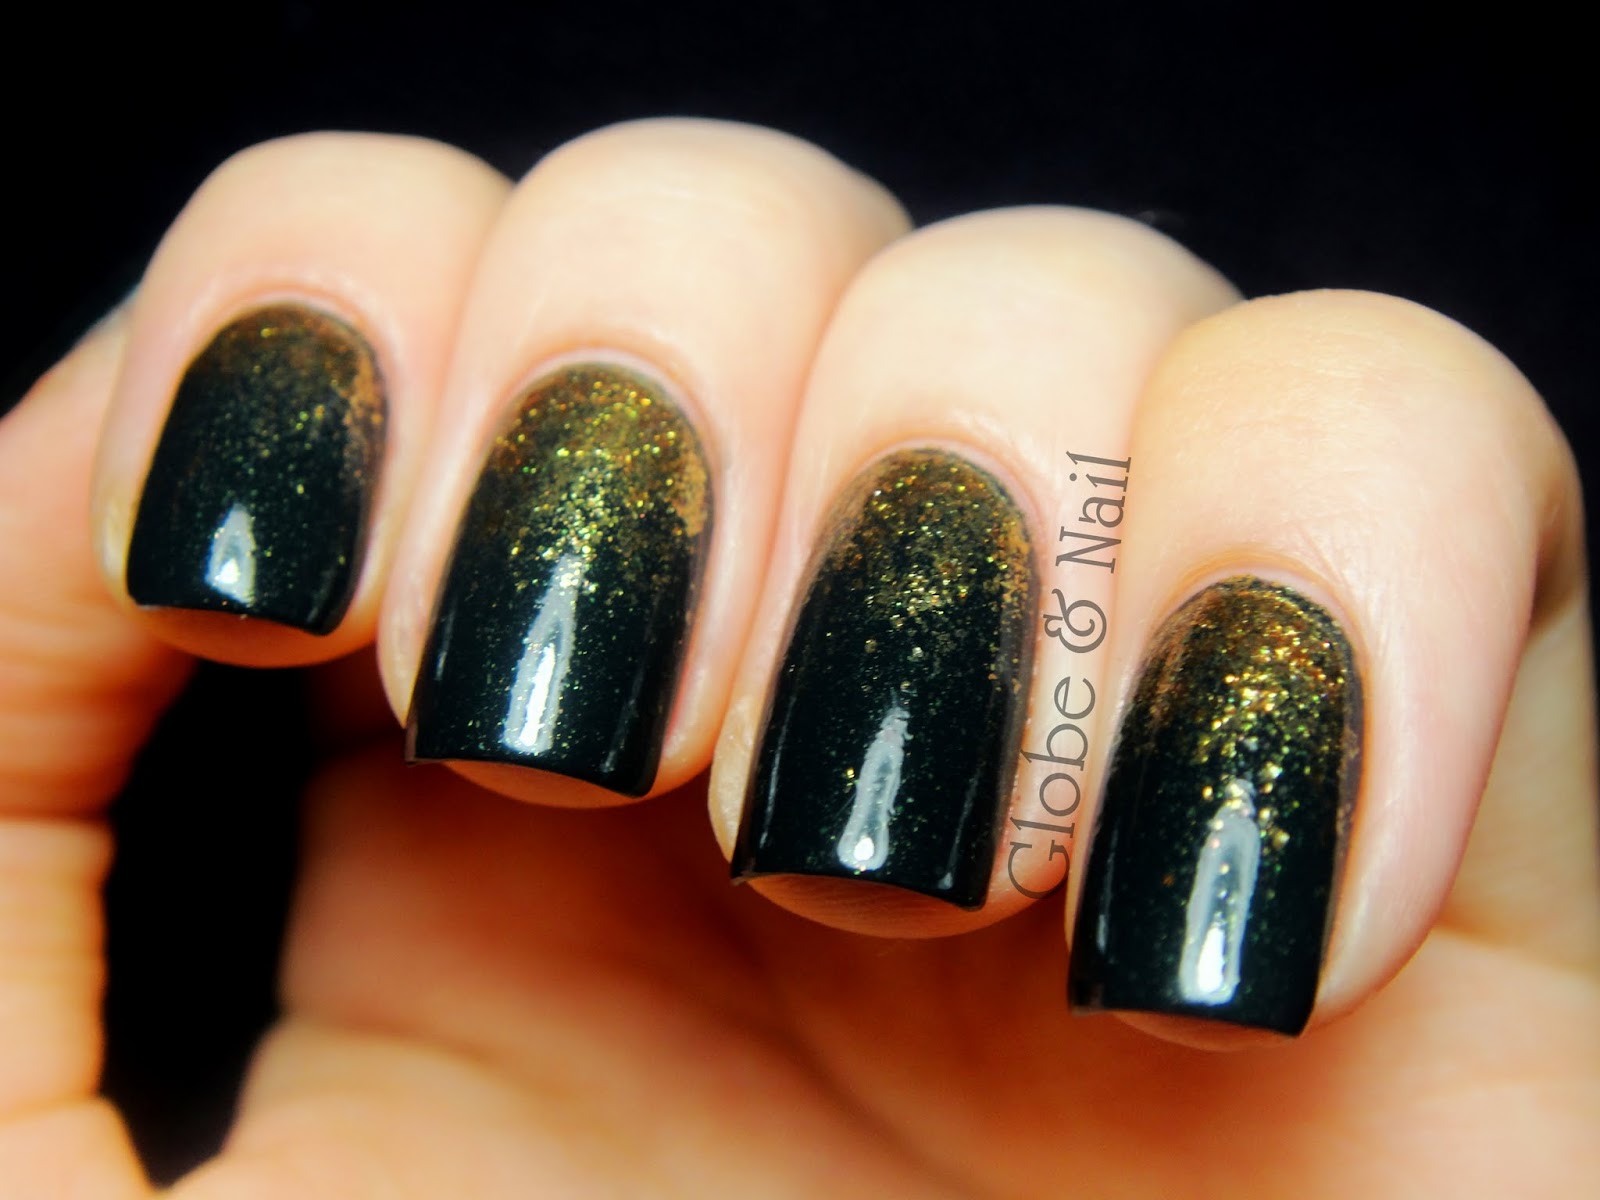
I just recently received the LaCC Fall release polishes in the mail and hadn't had time to play with them yet, so I decided to use the black 2002 as the base for my nail art.  There will be a full review of this collection up shortly, as soon as I finish swatching them all.  

For now, all you need to know is that this is just one fabulous coat of 2002!  The nail art was painted freehand with a nail art brush and Barry M Gold Foil.  I picked up that polish while I was in London because I had heard good things about painting and stamping with it; this was the first time I've tried it and let me say that I was super impressed!  I'm normally one for only freehanding with acrylic paints because I find polishes difficult to work with (especially in line work).  But this polish was so super easy to work with, it will definitely be a go-to from now on!  


It's been a long time since I've done any freehand work, especially attempted fine lines like this, so I was a bit nervous going into it.  But in the end, I was really pleased with how it turned out!  It has a bit of a Gatsby 20's vibe to it, which I'm loving the feel of!  What do you think?  :)

Friday, March 28, 2014

LVX Mynt & OPI My Favourite Ornament

I purchased both of these polishes pretty recently, and when I saw them sitting next to each other on my desk I knew they'd make a good pair!  


LVX Mynt is a beautiful light vibrant mint creme, with full coverage in three thin coats.  (Two thicker coats would probably do the trick too.)  This was my first LVX polish, and I was really impressed with the formula!  I found a ton of LVX polishes at Winners for $6 each a few weeks ago and picked up three, so you'll be seeing the other two around here eventually as well. 

OPI My Favourite Ornament is a full-coverage gold micro-flakie; I used three thin coats for opacity here too.  This one isn't advertised as a Liquid Sand, but it does dry to a textured finish so I chose to leave it without top coat.  I think you'd need at least two coats of a thick top coat to smooth it out.  I really love the lighter gold colour, it's so flattering! 


I'm really happy with both of these recent purchases, and they look so cute together!!  This mani definitely helped get me in the mood for some more spring-hued looks, despite the gross weather.  What do you think?  :)

Friday, July 19, 2013

Mint Manis for Talia Joy

I had planned to show you the last of the beautiful Shimmer swatches this morning, but instead I've decided to join in on Nail Polish Wars' fantastic idea to post mint manis in honour of Talia Joy Castellano.  Talia was an extremely talented 13-year-old makeup artist and YouTuber, who was battling two kinds of cancer (neuroblastoma and preleukemia) since she was diagnosed at only 7 years old.  Despite all this, she still managed to keep upbeat, motivated, and overwhelmingly positive.  She passed away on Tuesday morning, and since her last Instagram photo was of a mint manicure, we have all joined together to do mint manis in honour of Talia.  


I pulled out what has become one of my favourite summer cremes, piCture pOlish Honey Dew.  I added a double-accent nail with BM-322 and Essie Good As Gold, and put a gold square stud (which I found in a clearance bin at the drugstore) on all the other nails.  It's all topped off with two coats of Pos top coat. 


I really love the combination of the bright minty green with the gold, there's something very classy but modern  and stylish about it.  In other news, I'm getting used to the round nails and they're growing on me a bit.  I'll still go back to squares though once I have enough length at the sides.  


You can share your mint manis for Talia on Facebook, Tumblr, Instagram, etc. with the hashtags #MintManisforTalia and #TaliasLegacy.  You can also add your mani to the Inlinkz collection below.  I'm excited to see what everyone else has come up with in honour of this beautiful girl.  Keep Talia's family and friends in your prayers! <3


The Inlinkz for this event is after the jump, since there have been over 200 entries!  Click below to have a look. 

Friday, May 24, 2013

KKCenterHK Triangle Nail Studs Review

Happy Friday!  Posting will probably be a little sporadic over the next few weeks as I finish everything up for the year, fair warning.  You probably know that I love studs on my nails, so when I was offered the chance to review a product from KKCenterHK, I jumped at the chance to try some of their awesome nail studs!  :)


These studs came in a package of about 50; it's not very many compared to other packages of studs I've got, but if you remove them carefully you can reuse them, (hence why some of mine look a bit scratched up.)


This was actually the second time I wore these studs, the photos from the first time turned out horribly.  This time, I chose to wear them over one coat (yes, only one!) of OPI Honey Ryder.  Because it was a textured polish and top coating over the studs would have ruined the finish of the polish, I used nail glue to attach the studs and left them sans top coat. 


They actually lasted an entire day, much to my surprise!  The first time I wore them, they were attached with top coat and covered in two coats of Seche Vite, and those lasted almost two days before I took them off!  


These studs come flat, and the edges would poke up a lot on my curved nail beds.  To solve this issue and prolong wear time, I simply curved each one over the handle of a nail art brush to fit the curve of my nail prior to applying.  No pokey edges here!  :)


This product can be found on the KKCenterHK website here:  Studs Regular Triangle Silver 5mm Nail Art Decorations.  These studs retail for $5.28USD per package, but you can use the code "globeandnail" to get 10% off your order! (Expires Jan.21st, 2014.)


Disclaimer: The products in this post were sent to me for review.  

Monday, February 04, 2013

Recoil

And... I'm back!!  I'm so excited to get back to nail art after all the swatching last month (though I still have a ton more to do...)  I really missed doing my Castle Mani Monday posts during January, and I've got one today!  (P.S. There's a tutorial at the end of the post!)


Tonight's episode is 5x13, Recoil, so I've done some dragon-inspired nail art.  Those of you who regularly watch the show (or obsess over it, like myself) should understand the reference here.  Just to clarify, I'll leave you with this still from the episode. 

Nathan Fillion, Penny Johnson Jerald, Stana Katic, Jack Coleman
If you don't watch the show are just aren't up-to-date with it, I won't explain so as to keep this as spoiler-free as possible.  Just enjoy the pretty nail art!  ;)


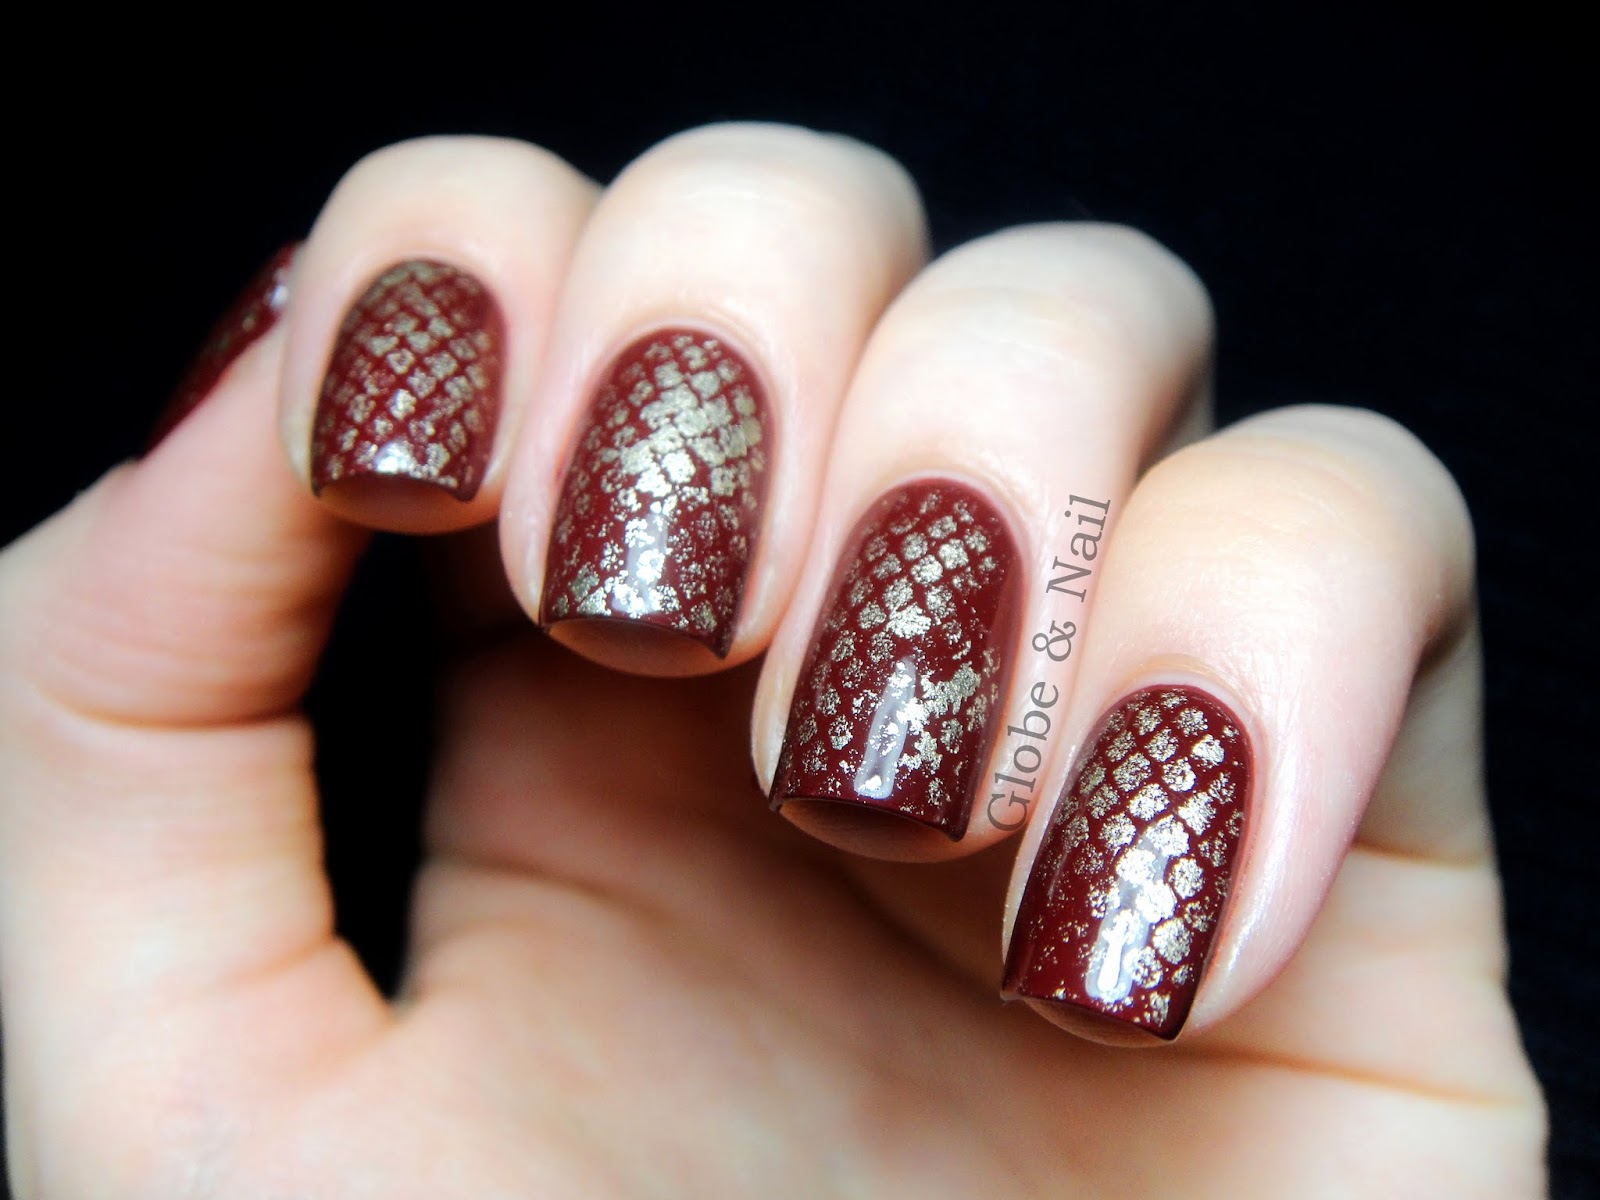
I started with two coats of OPI Skyfall, and then sponged on the scales with Essie Good As Gold.  Topped with one coat of Seche Vite.  Tutorial time!!


1. Start with your base colour, and add a coat of fast-drying top coat to speed up the process. 

2. Once the base is completely dry, take a piece of tulle and stretch is over your nail.  I have a ton of this stuff lying around from making tutus, but you could get some small pieces of it in remnant bins at fabric stores for pretty cheap. 

3. Paint a little bit of your second polish on a makeup sponge, and dab it on through the tulle.  The key here is to be irregular, make sure you only have a little polish in random spots on the sponge and apply it lightly. 

4. Carefully remove the tulle. 

5. Repeat on the rest of your nails, and finish with a top coat! 


This is a pretty darn cool look in my opinion, and super easy to do!!  I think it would look great in a whole lot of colour combinations, I just might have to re-do this for when I go to see the second installment of The Hobbit! ;) 

Anyways, tonight's episode promises to be an eventful and exciting one, I'm really looking forward to it!  If you're a fellow Caskett shipper, are you excited for tonight?  If not, did you at least enjoy the nail art? :)

Friday, January 11, 2013

Indie January: ILNP All Gold Everything

Indie January Day 11!  I've just about survived my first week back at school and dance after Christmas break... Then again, it wasn't really much of a break since I had to go in and do extra classes to learn the syllabus for my RAD Solo Seal exam that I'm doing in March.  

That aside, today's polish is from yet another new-to-me indie brand, I Love Nail Polish.  At least my nails can look pretty while the rest of me is sore from some intense conditioning classes this week.  -_-


I<3NP All Gold Everything is from the brand's New Year's Collection; it's a clear-based glitter topper packed with different kinds of gold glitters, and a few gold flakies!  I chose to layer this stunner over Essie Stylenomics, which I just picked up the other day at Winners for half-price.  (I know, late to the party.)  


Application on this polish was fabulous, the glitter spread perfectly with no extra work!  My only complaint about this polish is that it smelled weird.  Not like strong nail polish smell, something different.  It wasn't very pleasant while I was painting; however, I'm willing to get past that because it's such a gorgeous polish!


The blackened green base of Stylenomics really complemented the gold glitter; the whole mani had a very luxurious look to it!   I'm sure you've all seen pictures of the I<3NP packaging, Barbra goes so far above and beyond with her bottles and boxes!  Unfortunately I don't have the right lighting setup to take bottle/box pictures.  Boo.  Cue another me-holding-the-bottle shot. 


I think these bottles are the best things ever!  The logo and labels are adorable, and rubberized caps make everything better.  My friend came over to borrow some nail polish and I was literally shoving these in her face saying "Look! Aren't these so cute?! No, you can't borrow that one, I haven't swatched it yet! What if your dog eats it? What? Of course I trust you!"

Sorry, got a little carried away there, (love you, Michaela!)  I<3NP is currently available through Etsy, and like the facebook page for updates! 

I've got two more polishes from I<3NP to show you sometime this month and they're both gorgeous, so keep an eye out for those!   Gee, this has been a very wordy post.  Do I need to ask questions at the end of posts or will you comment anyways?  ;)


Disclaimer: The products in this post were sent to me for review. 

Wednesday, December 19, 2012

Goldeneye Stripe

A quick post today with a mani I did a couple weeks ago using OPI Goldeneye and black striping tape from the Born Pretty Store.


I used 3 coats of Goldeneye, followed by the striping tape and one coat of Seche Vite.  The formula on Goldeneye is pretty easy to apply, but is such a pain to clean up and remove due to the foil finish.  


I really like this polish, the shade of gold is very flattering and I love the foil finish!  


We've seen a few similar polishes in other holiday collections this year; do you have any?  Which one is your favourite?  :)

Monday, December 17, 2012

Christmas Skittlette

Skitt * lette : a manicure consisting of two, or three, different accent nails on each hand. 

I just did my first skittlette manicure for a contest being hosted by Marta at ChitChatNails.  I've never tried one, and I decided to give it a go for the contest!  Take a look!


I used my three new Butter London polishes (thanks mom!) to create this nail art.  The magenta-plum creme is Queen Vic, the deep pink microglitter is Fiddlesticks, and the green is Jack The Lad.  The gold glequins are from the BornPrettyStore (code for 10% off: PPJ61) and the gold microglitter on my index finger is Orly Prisma Gloss Gold.  Sealed with two coats of Seche Vite (Fiddlesticks is a hungry one.)


I'm not really a pink person, but without question I'll make an exception for Fiddlesticks!  A rich-toned base with dark flecks and glowing microglitter?  Yes, please!  Queen Vic is an absolutely perfect two-coat creme, and Jack The Lad is such a stunner, although the gold glequins don't let the true beauty of this polish shine through.


I'm obviously not as talented at artsy pictures as Marta, haha!  It was a lot harder than I thought it would be to come up with multiple different nails that would all look good together and form a cohesive look.  I have so much respect for Marta who constantly comes up with stunning combinations for her manicures! 

I'm looking forward to wearing all of these polishes alone, but I also really enjoyed wearing them together!  What do you think of my first skittlette?  :)

Wednesday, December 12, 2012

One Ring

The first installment of The Hobbit is coming out this weekend; who's as excited as I am?  :)  I got really into The Hobbit and Lord of the Rings in the spring when I decided to read all the books, and I've been in love with Middle-Earth ever since.  Prepare yourselves for an awesome Lord of the Rings post!


This is hardly original in terms of nail art, but I'm really proud of it!  I used two coats of Essie Good As Gold for the base, and painted the script with black acrylic paint.  


This is the rhyme from which I took the line to write on my nails.  In the book it's written in the Common Speech, but I painted it on my nails as it appears on the One Ring itself: written in the Black Speech using the Elvish form of script as invented by the Elf Fëanor, Tengwar


The script on my nails should say "One Ring to bring them all and in the darkness bind them," though it's probably missing the last two words because of my lack of ability to space words properly.  Cue artsy picture with a book. 


I could get all into the history of the One Ring but that isn't exactly relevant to a nail polish blog, so if you're interested, you can read more about it here.   

I'm not seeing the movie when it comes out on Friday; as much as I'd like to I have a dress rehearsal that night and a show on Saturday night.  However, I'm super excited for Sunday because I'm going to my friend's house at the crack of dawn to have a Lord of the Rings movie marathon (yes, all 10 hours) followed by going to see The Hobbit!  :) 

Are you planning on seeing The Hobbit?  Anyone as excited as I am and willing to geek out with me?  :)

Monday, December 03, 2012

Secret Santa

**I've entered my Christmas meme nail art in Week 2 of Nail Polish Canada's Holiday Nail Art Challenge.  Don't forget to vote here! Voting ends Wednesday, December 5th.**

Time for another Castle Mani Monday!  This week's episode is called "Secret Santa" and is the first Castle Christmas episode ever, so needless to say I'm super excited!  :)


I got the idea for this mani from one of the episode stills that was released; see Castle's shirt?  


I used my first DS OPI polish for the first time, DS Mystery.  It's a stunning deep brown-ish purple with gold micro-flakies, and an amazing almost-one-coat formula.  LOVE!  Artsy sideways photo, anyone? 


I stamped an image from BM-321 with Essie Good As Gold (probably my favourite stamping polish) and topped with one coat of Seche Vite.  The stamp doesn't really match his shirt as well as the paisley BM pattern would have, but I wanted to try an image that I hadn't used yet and I really liked this one.  


Yesterday I spent a good deal of time trying to figure out how to use Photoshop Elements to do my colour-correcting, and I think I'm starting to get the hang of it.  Though I still need to find the exact skin tone that's as white as I am without making me look like a ghost! 

Unfortunately there's not going to be another Castle Mani Monday post for 5 weeks due to the show's winter hiatus, so look for a new one in January! What do you think of today's installment?  Will you be watching Castle and Beckett's first Christmas tonight too?  :)

Sunday, December 02, 2012

Bond Gradient

**I've entered my Christmas meme nail art in Week 2 of Nail Polish Canada's Holiday Nail Art Challenge.  Don't forget to vote here!**

Just quick post this afternoon, my sister and I are going to plug the computer into the TV and watch A Very Potter Musical!  I did this gradient mani last week using two of my new OPI Skyfall polishes, following this tutorial from Lucy's Stash. 


I started with a base of two coats of Live And Let Die.  This was the one polish from the entire collection that I knew I had to have, and it didn't disappoint!  I got the Bond Minis set, but I'll definitely have to get a full-size of this one!  (I did a jazz dance to a mash-up of Live And Let Die along with other songs from the Bond movies and Charlie's Angels a few years back, so I'm a little biased because of the name.)  ;)


I used OPI Goldeneye for the gold gradient; it gave a really cool effect with the foil polish!  I'm wearing Goldeneye as a full mani right now, so you'll see that on the blog soon. 


I was really backed up on indie swatching, but I've caught up this weekend!  I must have painted my nails at least twelve times since Friday, but it feels good to not have to worry about those!  Expect to see a couple more indie posts as well as lots of Christmas nail art over the next few weeks!  :)

Monday, November 26, 2012

KBShimmer Winter Collection

Happy Monday! (That's the two cups of coffee speaking.)  If you're not a caffeinated as I am, I hope I can brighten your morning with this gorgeous glittery post featuring fove polishes from the KBShimmer Winter Collection!  Let's get right to it! 

Hex Appeal was inspired by New Year's Eve in Times Square, and is a "navy jelly base with magenta, silver and blue hex glitters. Tiny micro bar glitters add a bit of pop."


Hex Appeal covered perfectly in two thicker coats.  Application required a bit of work; I first applied it normally to spread the jelly base, and then dabbed around to evenly disperse the glitters.  Two coats of Seche Vite for a smooth, glossy finish. 


I'm sure you'll agree that the extra effort in application is SO worth the end result though.  Isn't this a stunner?  Definitely one of my favourites from the collection! *drool* 


Next up, Candy Cane Crush is "is loaded with red and white hex glitters in many different sizes. This polish is scented with vanilla peppermint, for a classic sweet mint scent."


I layered one thick dabbed coat of Candy Cane Crush over two coats of China Glaze Holly-Day.  This one is a hungry glitter, even with two coats of Seche Vite it was pretty bumpy. 


I absolutely love the vanilla peppermint scent, I wish every polish smelled like this!  It's not overpowering at all (unless you hold it up to your nose and inhale like my sister did when I told her it was scented) and I could still smell it the day after applying two coats of top coat!  This is a very versatile polish: over green for Christmas, pink for Valentine's Day, blue for 4th of July, and red or white for Canada Day!


For We Three Blings "we started out with a micro iridescent gold and then added faux gold flakes. To finish this polish off, we then added several sizes of golo holo glitter." 


I layered one easy coat of We Three Blings over three coats of Essie Macks, and topped with one coat of Seche Vite.  You can see the gold holo on my blurred index and middle fingers. 


This gold top coat is stunning, and applied like a dream!  I had such a hard time deciding what to layer this over; on my high-tech plastic bag tester swatches it looked gorgeous over everything, especially all the rich jewel-toned shades!  The combination of faux gold flakes and gold holo is so beautiful! 


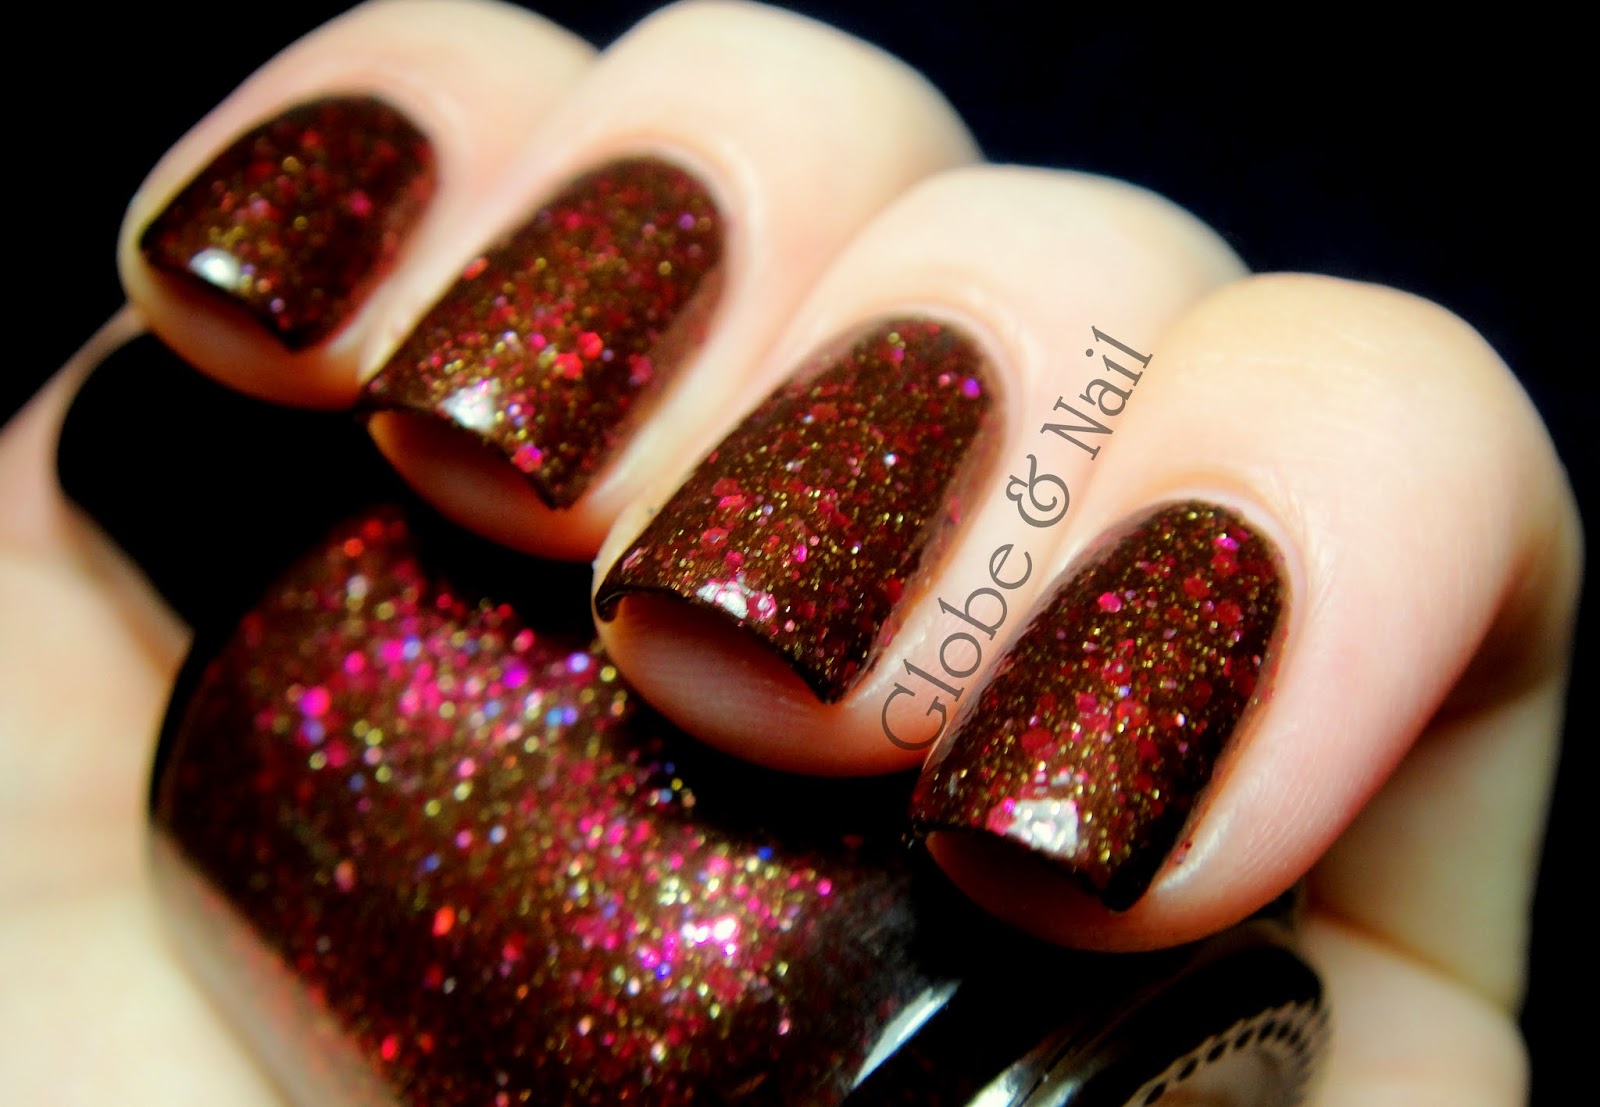
Cocoa Nut is "a chocolate brown polish loaded with berry colored glitters in several shades of pink. Micro gold adds a hint of shimmer and shine." 


This polish goes on beautifully, I honestly forgot that I was applying a glitter polish!  Two coats covers perfectly.  The polish is left with a slightly grainy finish even after two coats of Seche Vite, but I had multiple people tell me "Whoa that's so cool, it's textured!"  Why yes, it is cool, isn't it?  ;)


Cocoa Nut flashes some other colours too, which you can see in the bottle shot above.  It's such a flattering shade of brown.  In fact, this post is a little late because I didn't want to take it off and wore it for two whole days!  Another favourite in this collection! 


All Decked Out is "a forest green Christmas Tree inspired base loaded with a mix of colored hexes in various sizes, gold holo hexes and a scattering of gold holo stars, as we know all Christmas trees need to be topped with a star!"


This one applied like Hex Appeal, a little dabbing was required to spread the glitters evenly.  Two coats of Seche Vite smooths it out perfectly.  The stars were hard to get, but I went fishing to satiate my desire to have a star on every nail... hehe!  :)


I absolutely love All Decked Out, yet another favourite in the collection.  The forest green jelly base is beautiful and gives the polish so much depth!  I got so many compliments on this one (sometimes after shoving my hands at their faces... like an insane person..."Look! I have Christmas trees on my nails!!")  Yea, this polish got me pretty excited.  It's just so Christmas-y!  :)


Now I'm in a super Christmas-y mood, I've been writing this post while listening to Christmas music for the first time this year!  :)  (Click here for my favourite Christmas song. You know you want to.)

You can buy KBShimmer polishes on their website here, Etsy shop here, and on Harlow & Co if you're not in the US.  Like the KBShimmer Facebook page to keep up-to-date with new releases and sales! 

No Castle Mani Monday post today because there's no new episode until the Christmas episode next Monday, but I hope this post made up for it!  Overall, I'm extremely impressed with this whole collection.  There's something for everybody in there, and you can bet I'll be reaching for them a lot this Christmas season (and some of them year-round!) 

Do you have a favourite in this collection?  Did you order any of them when they were released last Friday?  Comments are early Christmas presents!  :)  

*edit: Voting for the Nail Polish Canada Holiday Nail Art Challenge is open until Wednesday.  Click here and vote for your favourite (or mine, up to you) ;) *

Disclaimer: The products in this post were provided to me for review and my honest opinion.

LinkWithin

Related Posts Plugin for WordPress, Blogger...