Showing posts with label Red. Show all posts

Sunday, February 16, 2014

Negative Stripes

Although they aren't nearly as festive as my skittlette mani a few days ago, this is what I actually had on my nails on Valentine's Day! 


This was my first time trying negative space nail art, and I was really happy with how it came out!  After painting my base coat (LaCC 2012) I laid down two pieces of striping tape and quickly painted two thin coats of LaCC 1941, and removed the striping tape while the polish was still wet.  I topped it off with a coat of Seche Vite.  


I was initially hesitant about trying this technique because I was worried that the whole naked-nail-showing thing would just look weird, but it actually looked very modern and sophisticated!  I much preferred this to my over-the-top Valentine's Day skittlette, haha!  Which do you prefer? :)

Saturday, December 21, 2013

China Glaze: Touch of Twinkle Set

Good morning!  I've been super out of it with everything regarding Christmas this year, with all my time being occupied by Nutcracker rehearsals and shows.  I haven't really been able to keep up with all the polish news and new collections, so I was excited when I was contacted by Nail Polish Canada to showcase one of the trios from the new China Glaze Happy Holi-Glaze collection!  This set consists of three polishes: Santa Red My List, Be Merry, Be Bright, and Just Be-Claus.  Let's take a look at the Touch of Twinkle trio!


Saturday, April 20, 2013

piCture pOlish: Dorothy

Happy Saturday!  I'm going to see The Croods tonight, and now that you're all well aware of my love for sloths, you should understand my excitement, haha!  :)

Today I have yet another beautiful piCture pOlish shade to share with you: Dorothy!  This lovely polish is a red jelly base packed with silver and red microglitter.  


This polish is yet another tribute to the fantastic formulas of piCture pOlish: you're seeing only one coat of Dorothy, no top coat! It was a tad thicker than some others I've tried, but the fact that it's a one-coater more than makes up for it!  


I love this, it's totally perfect for Dorothy's ruby red shoes.  A little out-of-season right now perhaps, I think this would be a great Christmas polish!   


piCture pOlish is available at picturepolish.com.au as well as through lots of other network members around the world. Check out the Network for a full list. 

How do you like Dorothy?  Do you agree that this lovely glittering red fits the inspiration perfectly?  :)

Disclaimer: The products in this post were sent to me for review and my honest opinion. 

Wednesday, April 03, 2013

piCture polish: Monroe

It's been a while (as in old-camera 'a while' *cringe*) since I've posted any piCture pOlish swatches, but boy am I making up for it today with this stunner!  You're in for a treat, but don't blame me for any damage to your keyboard due to drool.  That blame is all on piCture pOlish, for creating this beauty.


Behold the magic that is piCture pOlish Monroe.  


Typical flawless piCture pOlish formula, as per usual.  Two dreamy coats, one coat of Seche Vite.  Apparently I forgot to take pictures of this without the studs, sorry!  


I'm a devout viewer of the tv series Smash, which makes this polish even better.  The (scripted) show is centered around the making of a Broadway musical about the life of Marilyn Monroe.  Fabulous, catchy original Broadway songs and musical numbers, paired along the inevitable drama and comedy of the rehearsal studio makes this a must-watch for me every week! 


piCture pOlish is available at picturepolish.com.au as well as through lots of other network members around the world. Check out the Network for a full list. 

Are you as in love with Monroe as I am?  The deep red with rainbow flashes will certainly be a go-to for me whenever I'm in need of a quick but beautiful mani!  :)

Disclaimer: The products in this post were sent to me for review. 

Monday, February 04, 2013

Recoil

And... I'm back!!  I'm so excited to get back to nail art after all the swatching last month (though I still have a ton more to do...)  I really missed doing my Castle Mani Monday posts during January, and I've got one today!  (P.S. There's a tutorial at the end of the post!)


Tonight's episode is 5x13, Recoil, so I've done some dragon-inspired nail art.  Those of you who regularly watch the show (or obsess over it, like myself) should understand the reference here.  Just to clarify, I'll leave you with this still from the episode. 

Nathan Fillion, Penny Johnson Jerald, Stana Katic, Jack Coleman
If you don't watch the show are just aren't up-to-date with it, I won't explain so as to keep this as spoiler-free as possible.  Just enjoy the pretty nail art!  ;)


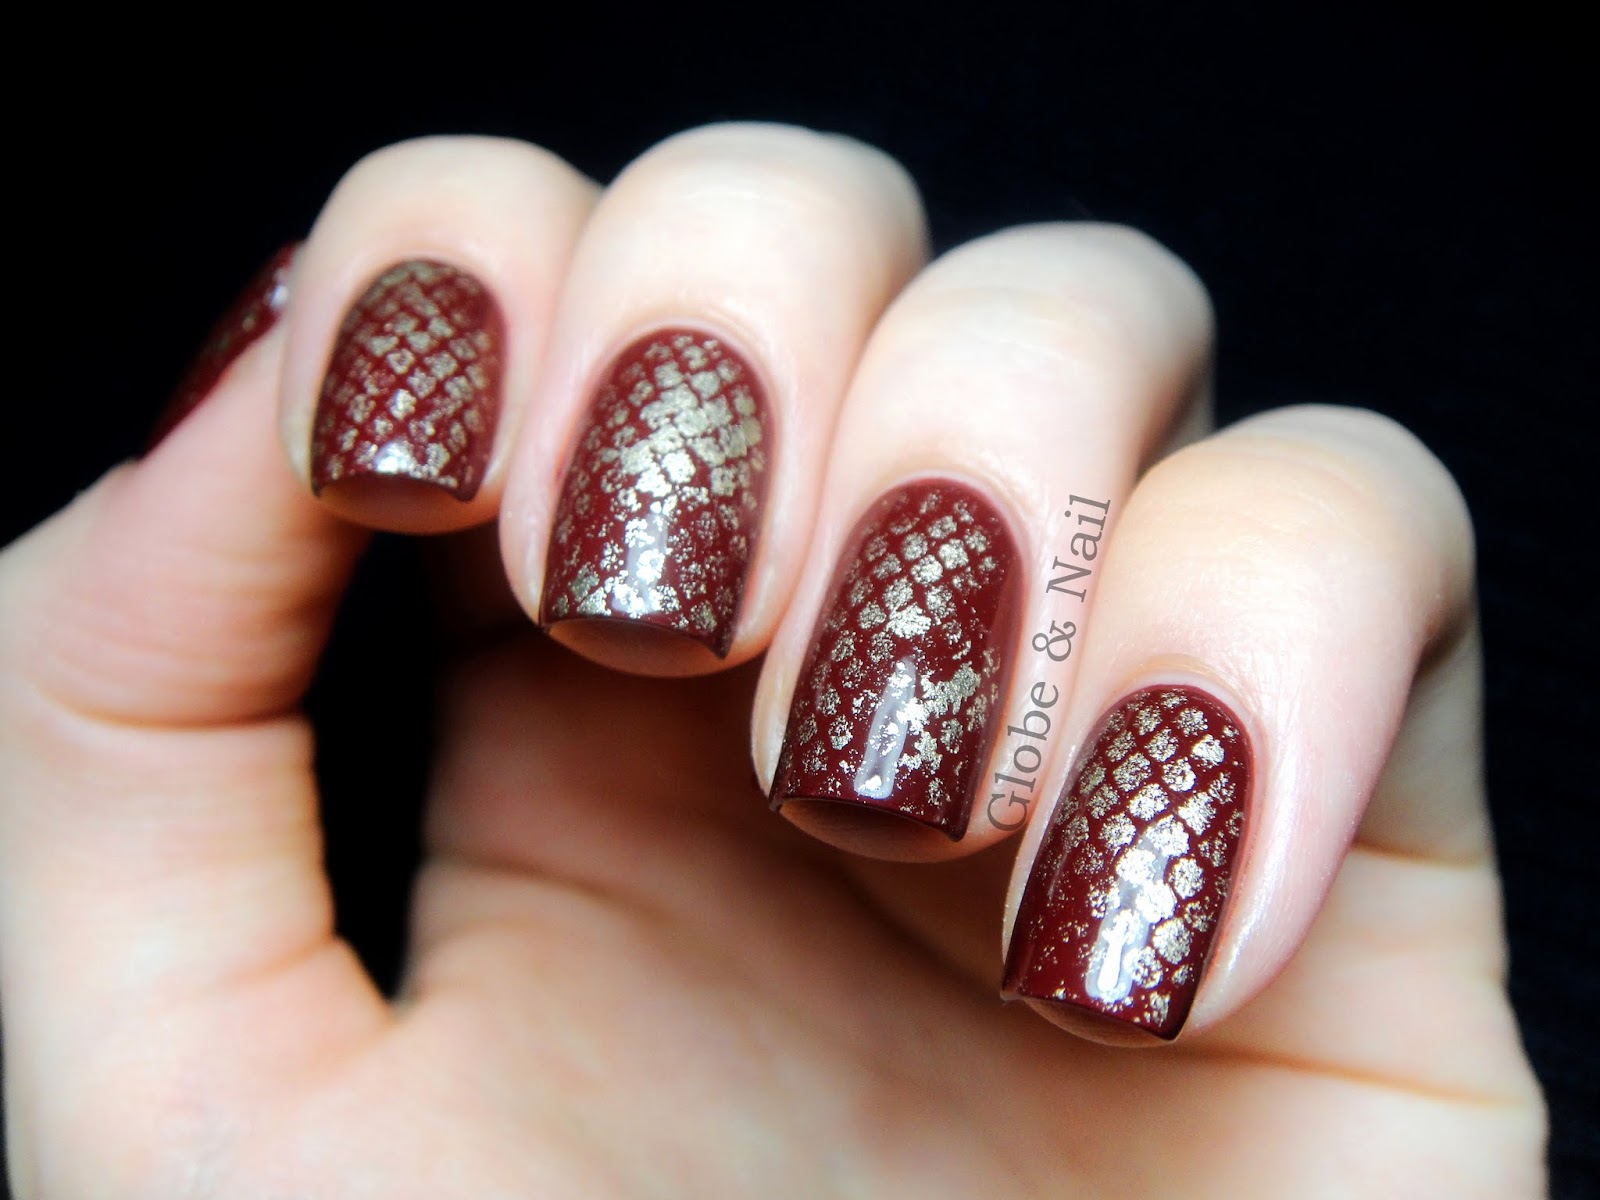
I started with two coats of OPI Skyfall, and then sponged on the scales with Essie Good As Gold.  Topped with one coat of Seche Vite.  Tutorial time!!


1. Start with your base colour, and add a coat of fast-drying top coat to speed up the process. 

2. Once the base is completely dry, take a piece of tulle and stretch is over your nail.  I have a ton of this stuff lying around from making tutus, but you could get some small pieces of it in remnant bins at fabric stores for pretty cheap. 

3. Paint a little bit of your second polish on a makeup sponge, and dab it on through the tulle.  The key here is to be irregular, make sure you only have a little polish in random spots on the sponge and apply it lightly. 

4. Carefully remove the tulle. 

5. Repeat on the rest of your nails, and finish with a top coat! 


This is a pretty darn cool look in my opinion, and super easy to do!!  I think it would look great in a whole lot of colour combinations, I just might have to re-do this for when I go to see the second installment of The Hobbit! ;) 

Anyways, tonight's episode promises to be an eventful and exciting one, I'm really looking forward to it!  If you're a fellow Caskett shipper, are you excited for tonight?  If not, did you at least enjoy the nail art? :)

Friday, January 25, 2013

Indie January: CrowsToes Morticia

Hooray, it's Friday!!  I wanted to let you all know that the Indie January posts from today to Monday will be scheduled, as I'm out of town for a dance convention.  Where I can't wear nail polish.  Sad Emma.  

Anoywho, Day 25's polish is CrowsToes Morticia, a mix of red, black, and gunmetal glitters in a clear base.  I've layered it over two polishes for different looks, so keep reading!  :)


The first combination (which was actually the second I did, but whatever) is one coat of Morticia over Essie Macks.  This polish is packed to the brim with glitter and is therefore super goopy, so I applied it how I described in this post.  Two coats of Seche Vite, though I'd recommend one more for a completely smooth finish. 


I obviously liked this combination the best of the two (scroll down and you'll see why...)   I think that the mix of glitters worked really well with the rich red base. 


Below, I've layered one coat of Morticia over Orly Decoded.  Yea, this one just... isn't working for me.  At all. 


CrowsToes polish is currently in stock on Llarowe, and follow The Polished Crow's blog for updates.

Are you like me and prefer the glitter with the red base?  Or do you like the grey or something completely different? I won't judge, promise.  ;)


Disclaimer: The products in this post were sent to me for review. 

Wednesday, January 02, 2013

Indie January: Contrary Polish Firebrand

Indie January continues; today's polish is Contrary Polish Firebrand, a deep raspberry base with red and pink shimmer.


Firebrand applied beautifully, and was opaque with two easy coats.  Photos show one coat of Seche Vite.  


I really love how the crelly base gives the polish a lot of depth, while still having full coverage in two coats.  The shimmer is very subtle which I personally prefer, and when the light hits it, it's absolutely stunning!  The slightly brick-toned raspberry is very flattering on my skin tone, and I'm sure it would look great on almost anyone! 


You can buy Contrary Polish on Llarowe, and follow and like her blog and Facebook page.  

Look out for another indie post tomorrow!  How do you like this polish?  Are you a fan of subtle shimmer and indies that aren't total glitterbombs?  :)

Disclaimer:  The products in this post were sent to me for review.  

Tuesday, January 01, 2013

Indie January: Candeo Colors Fallen

I'm starting off my Month of Indie with a gorgeous glitter topper, Candeo Colors Fallen.  Since posting every day this month will be a bit of a squeeze for me, the posts will be a little shorter than normal (I usually babble a lot anyways, haha!)  Let's get right to it!


Candeo Colors Fallen is a mix of white and iridescent glitter in a clear base.  I first layered one coat of this over three coats of Essie Macks for a Christmas-y look; I wore my red and white Christmas sweater to match and really enjoyed wearing it this way!


I then decided to layer one coat of Fallen over two coats of Orly Shockwave, since the iridescent glitter seemed to mostly flash blue.  This combination was also beautiful, but my camera didn't want to pick up the blue iridescent flashes over the blue base! 


The formula on Fallen was thick but easy to work with.  Only a little dabbing was required to get the larger hexes evenly spread.  Two coats of Seche Vite for a smooth finish.  


Fallen is a gorgeous polish, and it looks beautiful over so many different colours!  White glitter is an automatic win, and the iridescent flashes give it that extra special something!  :)

You can find Candeo Colors on their website, Llarowe, and Facebook. 


Disclaimer:  The products in this post were sent to me for review.  

Friday, December 28, 2012

Candy Canes

I'm back after a (long-than-anticipated) Christmas hiatus to show you my Christmas day nail art, and I've included a quick tutorial at the end of the post!  :)


I started with 2 coats of OPI My Boyfriend Scales Walls and a coat of Seche Vite to speed up the drying.  After taping off stripes, I used Essie Macks for the red and topped the whole look off with two more coats of Seche Vite to smooth out the stripes.  


I say that this was my Christmas day mani, when in reality it only lasted the first part of the day.  Of course, thanks to Christmas and review packages arriving, I now have an obscene amount of untried polishes (and a storage rack!) so I had to paint my nails on Christmas day! 


Here's a quick picture tutorial for this look; it's pretty self-explanatory since I mainly made it to post on Instagram, but if you have any questions just leave a comment! 


My pile of untried and to-review indies has grown to the size of Mount Doom, so I'm planning to do a month of everyday indie polish posts.  I usually post sporadically so posting every day will be a challenge, but I'm really looking forward to it!  I hope you'll follow me along the way!  :) 

Thursday, December 20, 2012

Silver Snowflakes

Another Christmas-y manicure today!  Christmas is less than a week away (*gasp*) and time for Christmas nails is is running out, so let's get right to it!  :)


I started with two coats of OPI The Spy Who Loved Me and one coat of Seche Vite to speed up the drying before stamping the snowflake design from BM-323 with Essie No Place Like Chrome.  I finished the look by placing silver holographic glequins from the Born Pretty Store in the centers of the larger snowflakes, and applying one last coat of Seche Vite
. 


OPI The Spy  Who Loved Me is a gorgeous bright red with a goldish-red glass fleck/shimmer.  It applied so perfectly, and is a great holiday polish! 


I really liked this look and was planning on wearing it for two days, but I got a huge dump of indie nail mail the next day, so off it came!  :P  

Christmas seems to have come so quickly this year, and I'm going to try to get in as much Christmas nail art as I can!  I'm still stuck on what polish to wear on Christmas, but I'm not really sure how much it matters since I'm pretty sure I'll be getting some polish for Christmas and will probably do my nails multiple times that day anyways, haha!  

Have you decided what your Christmas manicure will be?  A favourite polish or nail art?  :)

Monday, November 26, 2012

KBShimmer Winter Collection

Happy Monday! (That's the two cups of coffee speaking.)  If you're not a caffeinated as I am, I hope I can brighten your morning with this gorgeous glittery post featuring fove polishes from the KBShimmer Winter Collection!  Let's get right to it! 

Hex Appeal was inspired by New Year's Eve in Times Square, and is a "navy jelly base with magenta, silver and blue hex glitters. Tiny micro bar glitters add a bit of pop."


Hex Appeal covered perfectly in two thicker coats.  Application required a bit of work; I first applied it normally to spread the jelly base, and then dabbed around to evenly disperse the glitters.  Two coats of Seche Vite for a smooth, glossy finish. 


I'm sure you'll agree that the extra effort in application is SO worth the end result though.  Isn't this a stunner?  Definitely one of my favourites from the collection! *drool* 


Next up, Candy Cane Crush is "is loaded with red and white hex glitters in many different sizes. This polish is scented with vanilla peppermint, for a classic sweet mint scent."


I layered one thick dabbed coat of Candy Cane Crush over two coats of China Glaze Holly-Day.  This one is a hungry glitter, even with two coats of Seche Vite it was pretty bumpy. 


I absolutely love the vanilla peppermint scent, I wish every polish smelled like this!  It's not overpowering at all (unless you hold it up to your nose and inhale like my sister did when I told her it was scented) and I could still smell it the day after applying two coats of top coat!  This is a very versatile polish: over green for Christmas, pink for Valentine's Day, blue for 4th of July, and red or white for Canada Day!


For We Three Blings "we started out with a micro iridescent gold and then added faux gold flakes. To finish this polish off, we then added several sizes of golo holo glitter." 


I layered one easy coat of We Three Blings over three coats of Essie Macks, and topped with one coat of Seche Vite.  You can see the gold holo on my blurred index and middle fingers. 


This gold top coat is stunning, and applied like a dream!  I had such a hard time deciding what to layer this over; on my high-tech plastic bag tester swatches it looked gorgeous over everything, especially all the rich jewel-toned shades!  The combination of faux gold flakes and gold holo is so beautiful! 


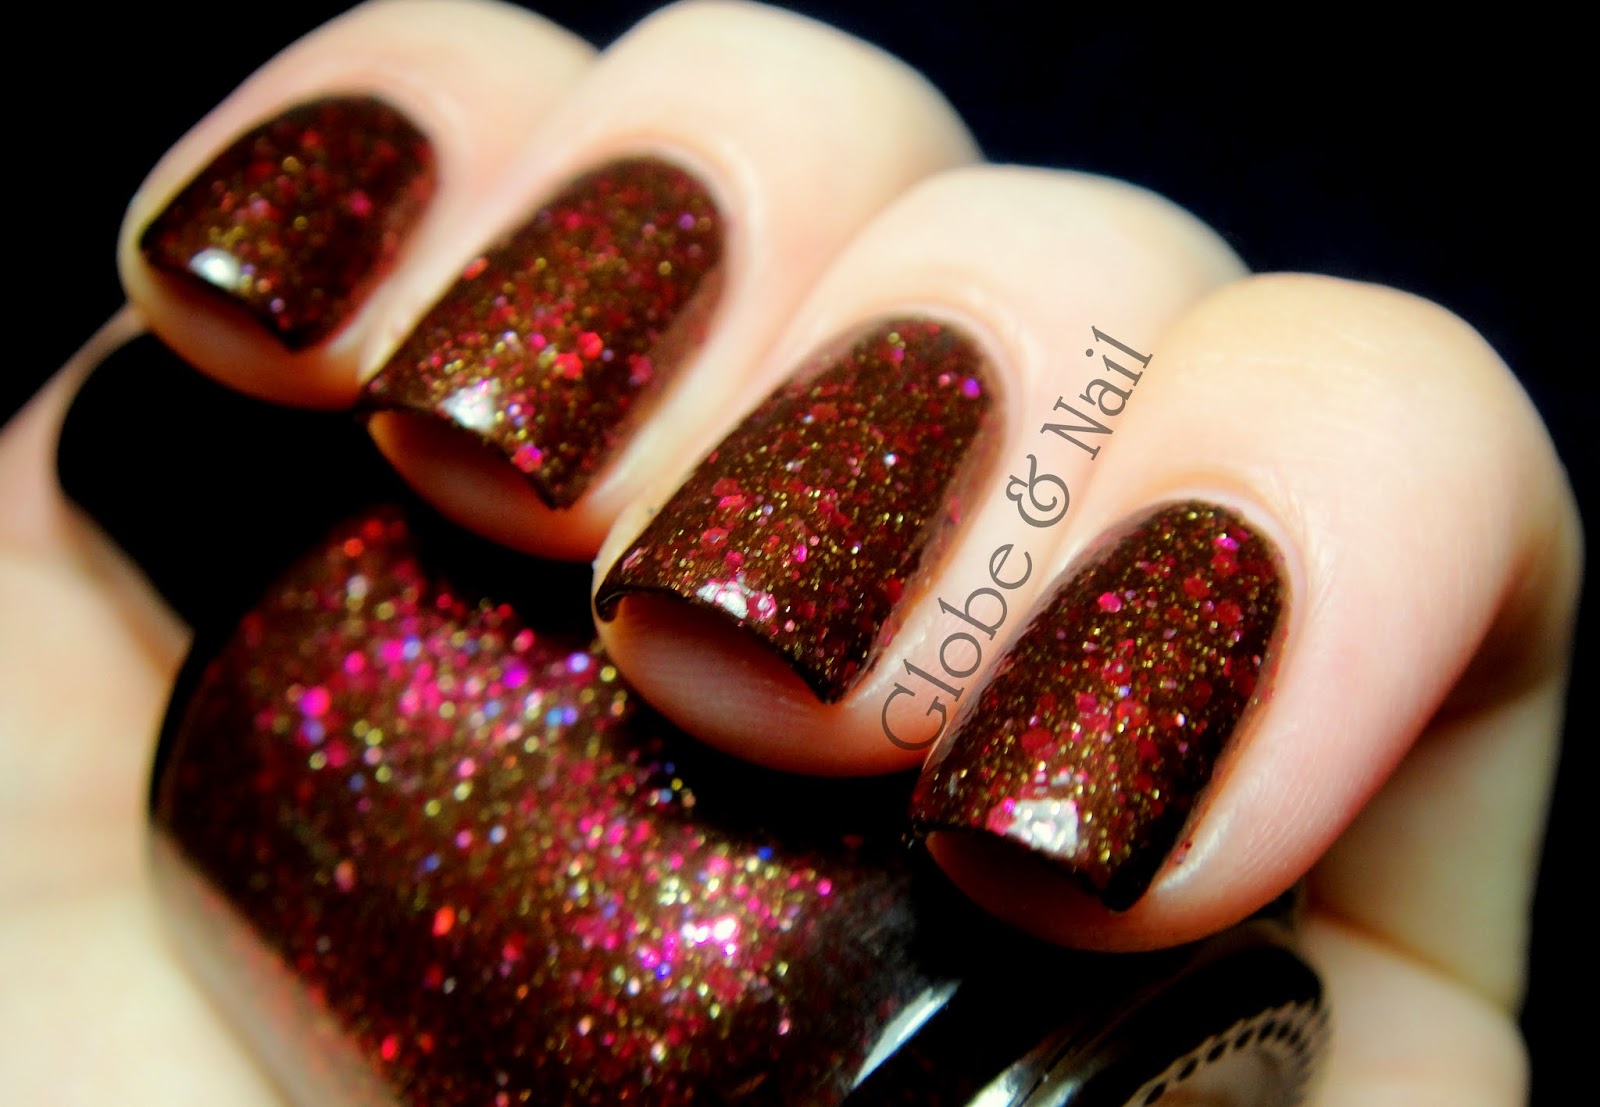
Cocoa Nut is "a chocolate brown polish loaded with berry colored glitters in several shades of pink. Micro gold adds a hint of shimmer and shine." 


This polish goes on beautifully, I honestly forgot that I was applying a glitter polish!  Two coats covers perfectly.  The polish is left with a slightly grainy finish even after two coats of Seche Vite, but I had multiple people tell me "Whoa that's so cool, it's textured!"  Why yes, it is cool, isn't it?  ;)


Cocoa Nut flashes some other colours too, which you can see in the bottle shot above.  It's such a flattering shade of brown.  In fact, this post is a little late because I didn't want to take it off and wore it for two whole days!  Another favourite in this collection! 


All Decked Out is "a forest green Christmas Tree inspired base loaded with a mix of colored hexes in various sizes, gold holo hexes and a scattering of gold holo stars, as we know all Christmas trees need to be topped with a star!"


This one applied like Hex Appeal, a little dabbing was required to spread the glitters evenly.  Two coats of Seche Vite smooths it out perfectly.  The stars were hard to get, but I went fishing to satiate my desire to have a star on every nail... hehe!  :)


I absolutely love All Decked Out, yet another favourite in the collection.  The forest green jelly base is beautiful and gives the polish so much depth!  I got so many compliments on this one (sometimes after shoving my hands at their faces... like an insane person..."Look! I have Christmas trees on my nails!!")  Yea, this polish got me pretty excited.  It's just so Christmas-y!  :)


Now I'm in a super Christmas-y mood, I've been writing this post while listening to Christmas music for the first time this year!  :)  (Click here for my favourite Christmas song. You know you want to.)

You can buy KBShimmer polishes on their website here, Etsy shop here, and on Harlow & Co if you're not in the US.  Like the KBShimmer Facebook page to keep up-to-date with new releases and sales! 

No Castle Mani Monday post today because there's no new episode until the Christmas episode next Monday, but I hope this post made up for it!  Overall, I'm extremely impressed with this whole collection.  There's something for everybody in there, and you can bet I'll be reaching for them a lot this Christmas season (and some of them year-round!) 

Do you have a favourite in this collection?  Did you order any of them when they were released last Friday?  Comments are early Christmas presents!  :)  

*edit: Voting for the Nail Polish Canada Holiday Nail Art Challenge is open until Wednesday.  Click here and vote for your favourite (or mine, up to you) ;) *

Disclaimer: The products in this post were provided to me for review and my honest opinion.

LinkWithin

Related Posts Plugin for WordPress, Blogger...